

In the digital world, mood boards are essential for gathering user interface ideas. In particular, web designers use this type of mood board to visualize their desired user experience before meeting with clients. Stressful project deadlines and changed client requirements often mean that the work that goes into a mood board is essential for a streamlined and smooth project. By designating a mood board to the project, the designer can provide clear guidelines for the development team and communicate those thoughts with precision.
What is a Moodboard?
Mood boards are normally created for the work flowing from concept to implementation. Designers handle mood board creation as a way to develop client-centric ideas and ensure that the website is built in a way that is pleasing to users. Without effective mood boards, designers won’t be able to make these improvements or convey their desires clearly.
By creating a website mood board, you can ensure that your ideas are translated into the appropriate visual layouts before development continues. These boards can be used before and during the duration of development. Mood boards are versatile tools that work quickly, efficiently, and effectively.
How to Create a Moodboard
Many designers create mood boards to brainstorm ideas with colleagues, or to take note of references for reference photographs. This type of mood board is created for professional purposes, usually once a month for large teams or companies. However, creating a mood board for clients may be crucial for proper design and project success. The following article discusses how you can use mood boards to ensure successful client relationships and deliver effective designs to your clients.
1. Consistency
When you are creating a website mood board, keep consistency in mind. It is important to choose one or two lead colors, and use them on the board. Use a consistent layout for all of your boards. Elements with the same color and size should be kept consistent as well. By doing this, you will be able to create a great visual flow that’s visually appealing to clients and users alike.
2. Individual focus
Boards can be utilized to represent different visual identities for a website, so that each board is clearly defined. You can choose a board that represents the overall color scheme of the client’s business, or focus on individual products and services the company offers. Most importantly, the mood board should represent the unique aspect of your product or service. If you don’t know what’s important to your clients, then you won’t be able to communicate effectively with them from an aesthetic perspective.
3. Collect existing material
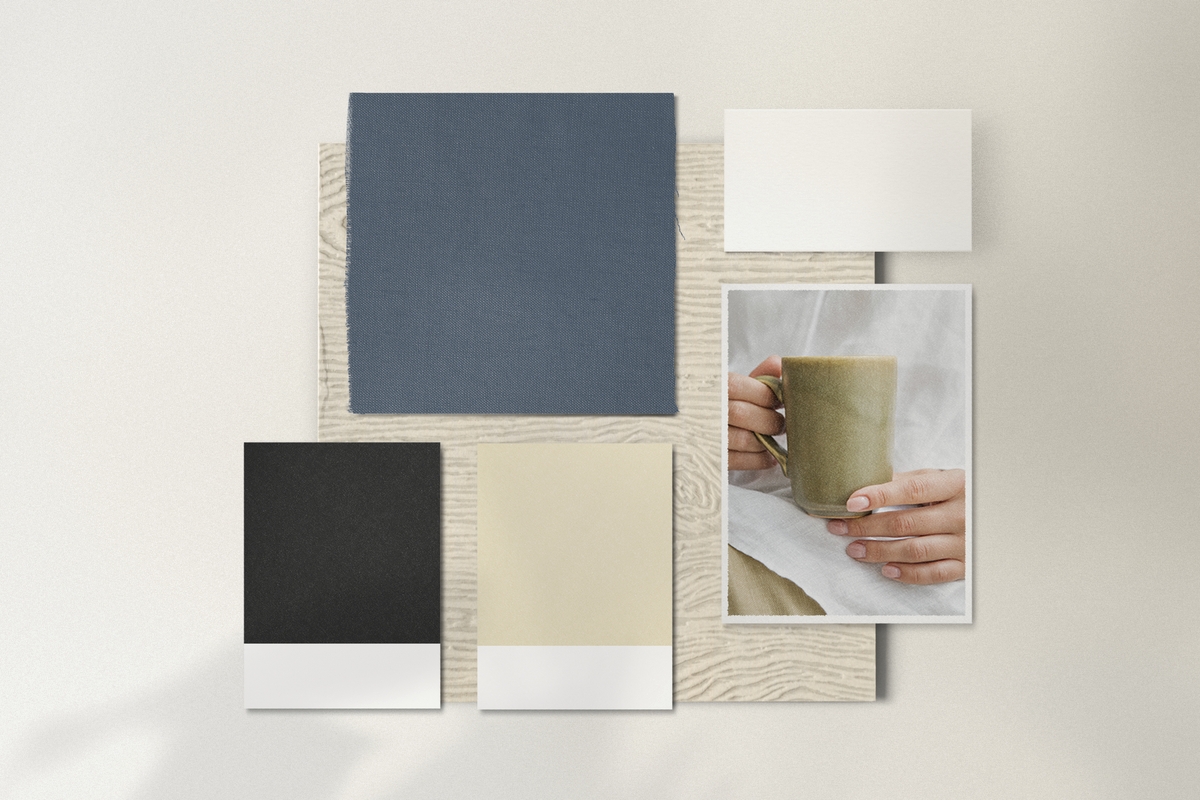
Before creating a mood board, you should collect pictures that relate to the project. Using photos of product packaging, advertising, and related images can help you create a tone board that’s visually appealing. Photos can also be used to create ideas for different layouts and styles. Photos usually work best in this type of project, because they can provide you with all of the necessary information without being too detailed or complicated.
4. Add inspiring imagery

The image that you choose for the project could greatly influence clients. Choose a piece that relates to your product, or one that represents your brand. Images don’t have to be taken from photos of products, however. You can incorporate images of other sites or creative designs in order to relate your product or service to something else.
5. Add examples of motion & sound
Once you’ve decided on your primary image, you can choose to add motion or sound to the mood board. This could be a great way to incorporate a short video, which can be shown on the homepage of your site. Be sure to check with your client before incorporating motion or sound into the mood board. It’s important that you understand their goals in order to create an effective website mood board.
6. Choose the right format
The representation and layout of your board could have a great impact on the client. Think about what you want the mood board to look like. Are you using it on a computer or iPad, or will it be printed? Thus, you may need to choose a different format. You can also choose to use different boards for different situations. For example, you may want one that’s primarily for desktop computers, and another for iPads. Be sure to use a board that best represents your client’s interests and needs as well.
7. Don’t reveal everything too early
You should always remember that your clients are looking at you while you are creating the board. Don’t include too many technical details of how the site will work, so that it doesn’t give away more information than necessary. Keep in mind the client’s needs and goals, and don’t be afraid to take a more general approach with the mood board.
8. Remain open to inspiration
Remember that you’re working together with the client, so don’t be afraid to incorporate new ideas. Your board should always include a few ideas that you haven’t originally thought of, in order to keep the project moving forward. Using this approach, you can give your client an idea of what the final product will look like before it’s ever finished. Oftentimes, the mood board will be changed once the client understands what you’ve created. Don’t hesitate to re-evaluate your thinking, and use those changes as inspiration for other boards. By staying flexible and open to new ideas, you will keep yourself and your clients focused on one goal: creating a successful website.
9. Avoid obsessions with style
Don’t stress over making sure each element looks perfect. You should strive to include other designs that are influential, but remember that you should always let your client’s needs be most important. Use every element on your board as a guide, and plan for the site to represent your client perfectly.
10. Explain your thinking.

Mood boards are meant to be used as inspiration. It’s important that you include explanations of each photo on your board, so that your clients can understand the reasoning behind each idea. If a client is confused about an idea on the board, it could delay the project as well.
11. Share early and often
Share your mood board with your client as early as possible, because it will enable both of you to focus on the same goal once they see what you’re proposing. It also gives you a chance to explain your reasoning for each idea and keep your client focused on the project. The earlier you share the board, the more ideas and feedback can be incorporated before it’s finished.
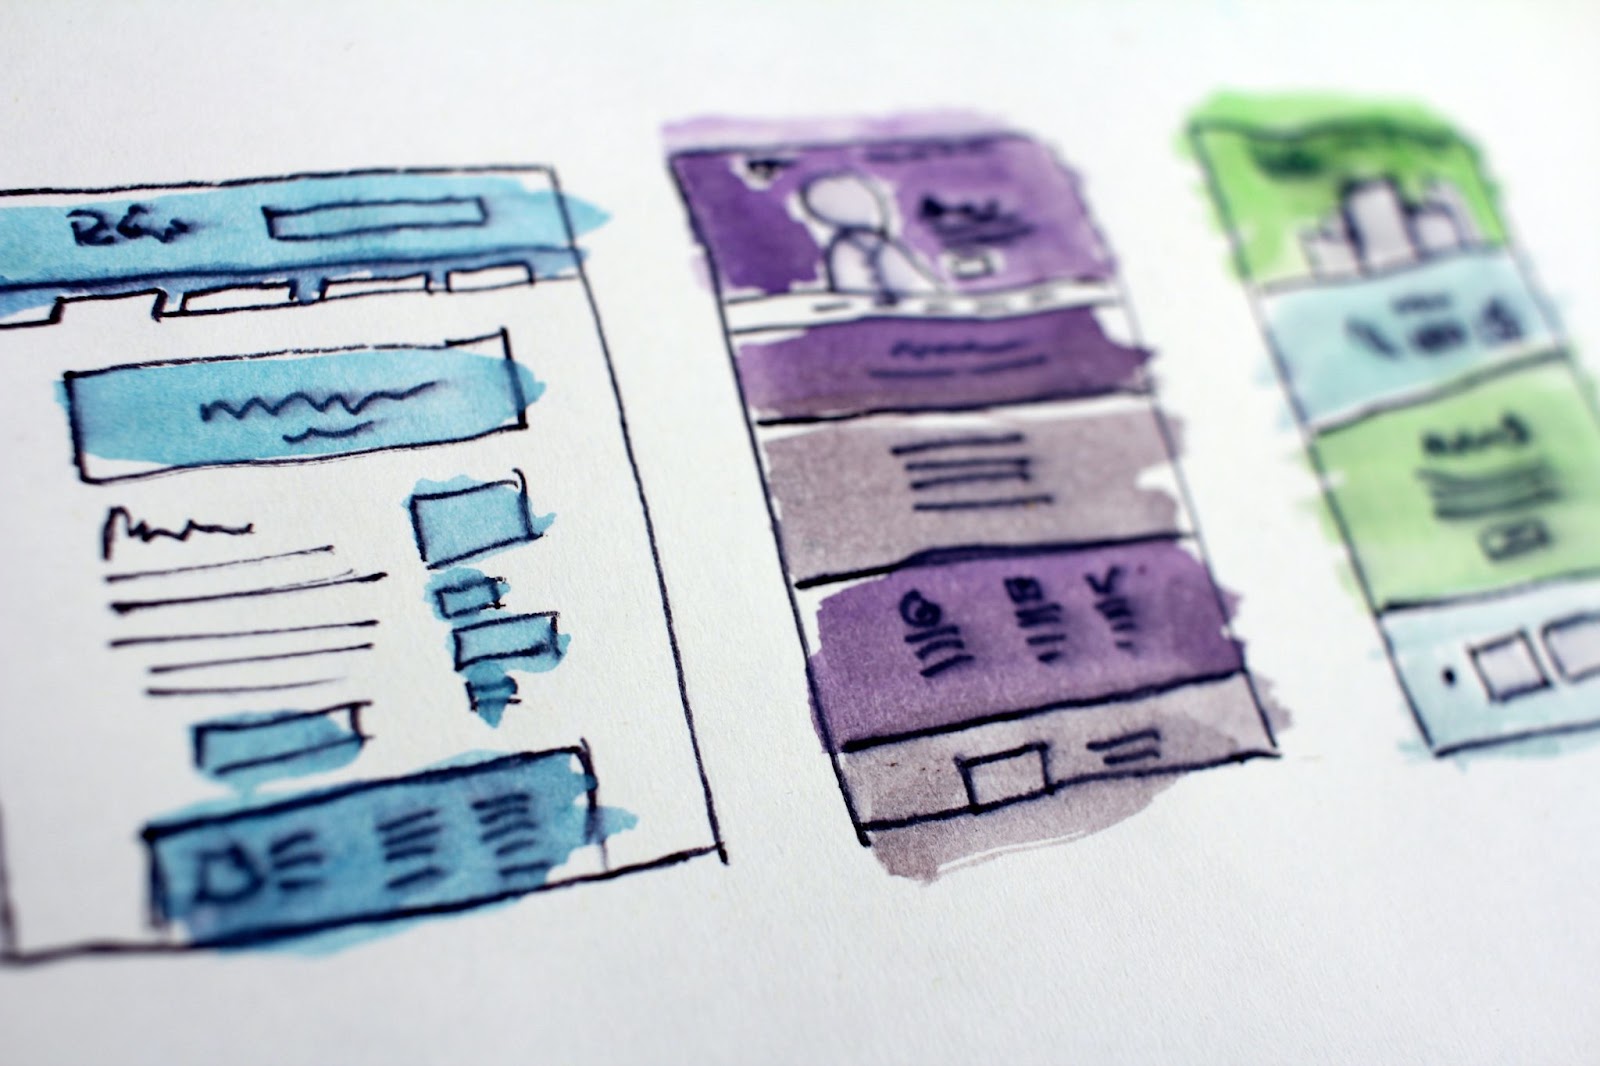
12. Use your sketches

Most designers will incorporate sketches of their ideas in order to convey a concept to the client. On your mood board, include sketches, or create drawings of what you want the site to look like. This can be an effective tool for translating your vision into something that’s easily comprehensible for your client. Your board should include a few sketches as well; these can be used as ideas for design or layout on the final product.
Bottom Line
In order to create a successful mood board, you need to be thoughtful and analytical. You should use real life images, as well as your own ideas and imagination. Then, take your findings and incorporate them into a meaningful layout that conveys the key features of the project. This will allow you to remind the client of what they need in terms of their product or services.
If you are thinking about outsourcing social media management just contact us.


